
Morimens Guide: Beginner Tips for Combat and Growth
Use this Morimens guide to build your first team, master card combat, choose upgrades, manage pulls, and tackle story stages with a clear progression plan.
Jump to
What to Do First in Morimens
A stronger roster can still lose when its cards pull in different directions. This Morimens guide helps you build a coherent team, manage combat resources, and spend upgrade materials where they matter. Start with the story and tutorial systems, then use those lessons to tackle harder Investigations.
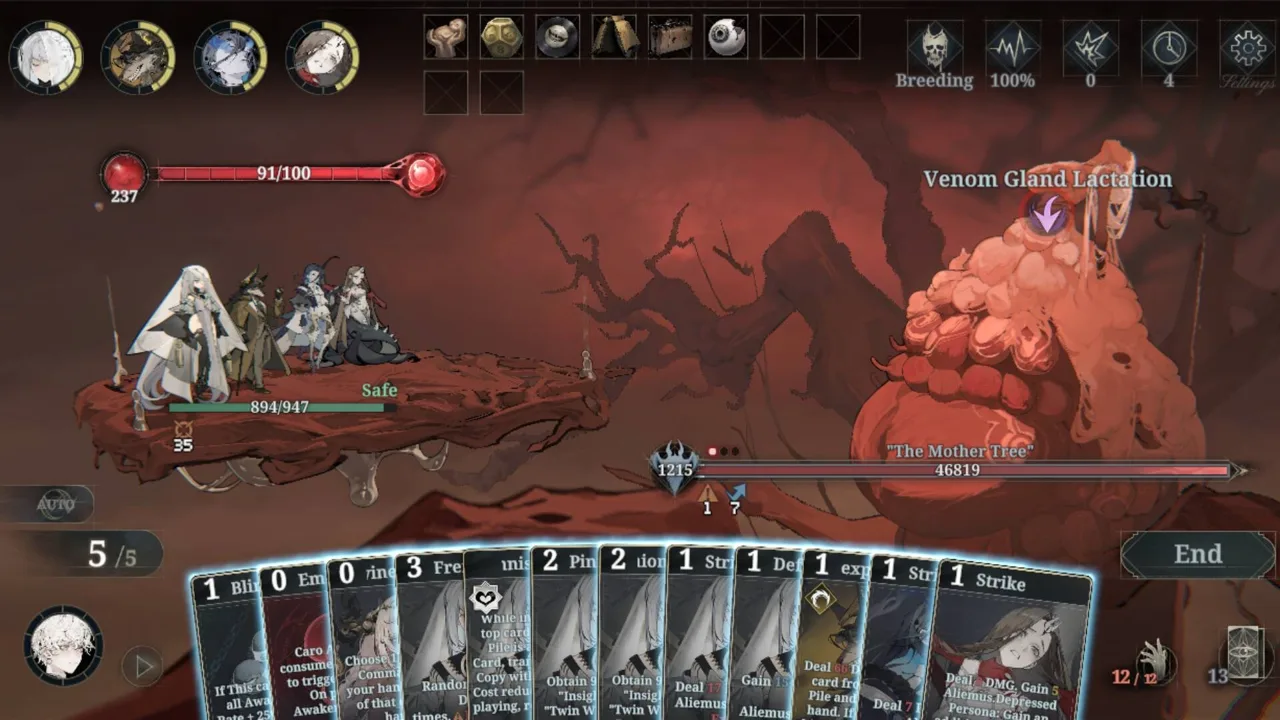
Morimens combines a four-Awakener party with roguelite deckbuilding. Your characters contribute cards to a shared deck, while Relics, Orison buffs, and random events change how each run develops. Progression outside those runs strengthens your account over time.
Follow this opening route:
- Finish the Prologue. Learn the starting team's cards before spreading resources across additional Awakeners.
- Complete Argent Dawnlight. This beginner Awakening provides a free five-pull with a permanent Awakener, and you can reawaken until you choose a result.
- Clear Investigation 1-2. This opens Interludes and Psyche Deepdive chapters.
- Complete the Combat Tutorial stages. Their first-clear rewards include Pure Core. Since V2.6.0, unfinished tutorials also trigger after Part 1 stage 2-9.
- Open the Handbook. Follow Argent Journey for story order and use Silver Survey to find permanent rewards you have missed.
- Bind your account. Use Complete Profile in the User Center to bind a phone number or email.
The Handbook's Growth Guide gained recommended Wheels of Destiny, Covenants, and lineups in V2.6.2. Consult those recommendations before spending scarce materials on a newly acquired character.
Official page: Morimens (store.steampowered.com)
Understand Your Combat Resources Before Playing Cards
A standard turn starts with five random cards and five Arithmetica to spend. Unplayed cards move to the discard pile when the turn ends, so plan around the hand you have.
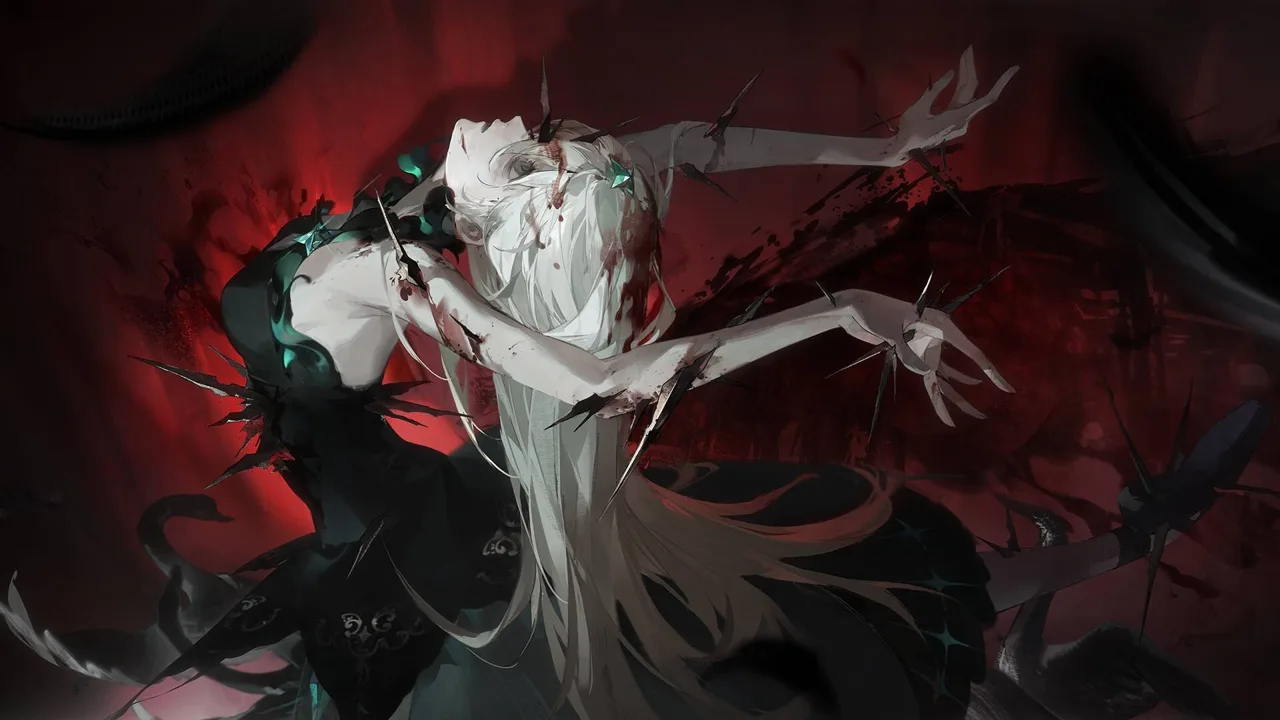 Image: Steam / B.I.A.V. Studio
Three resources control different parts of combat:
| Resource | What it powers | What to watch |
|---|---|---|
| Arithmetica | Command Cards | Card costs determine how much you can accomplish this turn |
| Aliemus | An Awakener's Exalt | Playing that Awakener's cards and certain abilities build the resource |
| Keyflare | Your equipped Posse and Keyflare Rouse | Multiple abilities compete for the same resource |
Read the enemy's next action before spending Arithmetica. Incoming damage is displayed, and shields absorb damage, but ordinary shields disappear on the following turn. Build enough protection for the attack you face, then consider what your remaining cards can accomplish.
Most damage cards attack the leftmost enemy unless their text specifies otherwise. Check targeting before planning a finishing blow against an enemy farther back.
Plan the Entire Turn
Before playing your opening card:
- Check whether an Exalt is ready or close to ready.
- Identify any cards that change the cost or effect of another card.
- Look for a Posse that supplies additional Arithmetica.
- Check whether your Realm mechanic rewards a particular opening card.
- Read the enemy's status effects and boss mechanics.
A cheap setup card can change what the rest of your hand accomplishes. Play cost reductions and enabling effects before the cards that benefit from them.
Time Reversal also gives you room to learn. V2.6.2 introduced five free uses per day and the ability to rewind within up to 100 combat rounds. Use a rewind to revisit a costly sequence and try a different order.
Build Around Realm Synergy
Awakeners belong to Chaos, Aequor, Caro, or Ultra. Realms govern team mechanics rather than elemental weaknesses, so choose characters whose cards support the same plan.
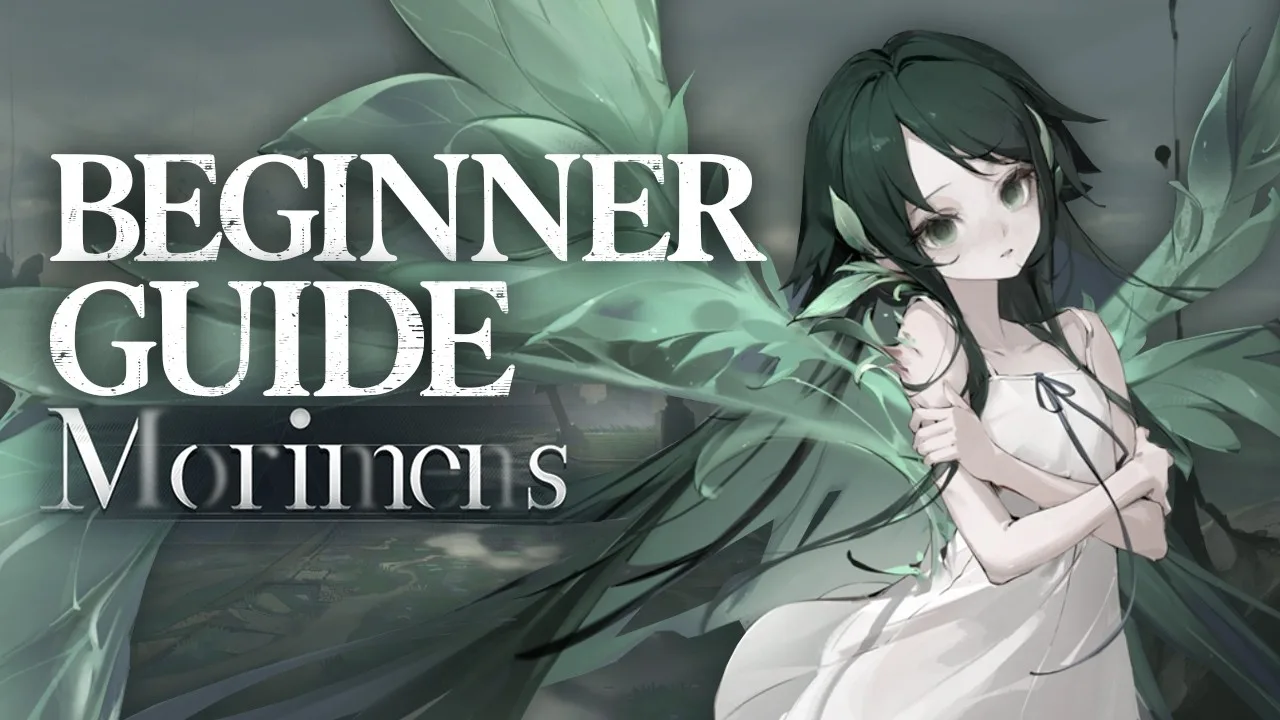
The original Realm mechanics establish four distinct styles:
| Realm | Core mechanic | Decision to learn |
|---|---|---|
| Chaos | Faster Keyflare generation and additional Posse activations | When to spend Posse charges |
| Aequor | Tentacles that provide end-of-turn effects, with alternate offensive and defensive modes | When to trade damage for protection |
| Caro | Embryo generation and enhanced Exalts that consume an Embryo | How to coordinate Embryos, health, and Exalt timing |
| Ultra | Copies opening cards into Ultra Space to prepare an extra turn | Which cards to store and when to trigger the extra turn |
Aequor's tentacle modes provide a practical starting point for learning flexible combat. Switch to the defensive mode when you need shields, and inspect the offensive mode's tentacle cost before committing to extra damage.
Caro requires closer attention to timing. Embryos can help build an Awakener's Exalt resource, but consuming one through an Exalt enables an enhanced effect. Read both options before spending the card.
Ultra makes your first play especially important. Its original mechanic stores the first card played each turn; filling Ultra Space with five cards produces an extra turn. You can also exchange the leftmost stored card for an Insight token once per turn.
Newer Realm forms include Primordia: Chaos, Benthos: Aequor, Propagation: Caro, and Singularity: Ultra. Read the active Realm description when changing between versions of a team.
For your opening roster, keep investment concentrated on four compatible Awakeners. Pure teams receive a doubled Realm Mastery effect, while mixed teams combine mechanics. Inspect that tradeoff before replacing a useful teammate with a higher-rarity character.
Improve Your Deck During Each Investigation
Your starting lineup is only part of a run. Shops, events, Relics, and card buffs can reshape the deck before the final boss.
 Image: Steam / B.I.A.V. Studio
Visit shops with a specific problem in mind. If weak cards keep occupying your hand, use card removal to improve access to your stronger options. Remove basic Strikes or Defense cards when your remaining deck can already cover their role.
Avoid removing protection simply because a damage card looks more exciting. Compare what you lose against the attacks you still need to survive.
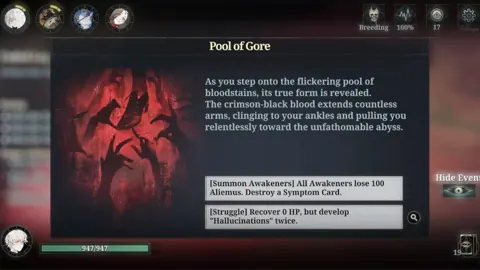
Explore additional nodes when your team can handle them. Extra rewards can strengthen the deck, but event choices sometimes add harmful cards. Read the cost alongside the reward.
Check Faded Legacy and Astral Reign Rules
Faded Legacy and Astral Reign use different rules for important systems, including Relics, equipment, and Rouse.
Under Faded Legacy, Rouse cards can appear through events or shops. Astral Reign instead uses Keyflare Rouse during combat. That makes Keyflare management part of your upgrade plan as well as your Posse rotation.
Cursed Relics also deserve a fresh reading when you change rulesets. Several powerful Faded Legacy options were reworked for Astral Reign. Evaluate the effect shown in the current stage before building a strategy around an older interaction.
Upgrade Awakeners, Wheels, and Covenants With a Target
Strengthen the team you are actively using before building substitutes for every possible encounter. Your opening priorities are Awakener levels, useful card upgrades, and equipment that supports the team's mechanics.
Prioritize the Cards You Depend On
Work toward level six on an Awakener's Exalt and two exclusive Command Cards. Bring basic Strike, Defense, and Rouse cards toward level three while directing the larger investment into the abilities your team relies on.
Check upgrade descriptions before spending materials. Prioritize improvements to cards you play regularly, especially those that enable your main damage dealer or keep the party alive.
Match Wheels of Destiny to Their Effects
Wheels of Destiny provide equipment effects, and a signature Wheel is not automatically the right choice for every lineup. Read how its effect interacts with the wielder's cards and the rest of your team.
The second Wheel slot unlocks at player level 15. Normally, an Awakener cannot equip two SSR Wheels together; a fully ascended SSR Wheel creates an exception. Reaching that point requires 16 total copies, so keep your early equipment plan focused on the Wheels already available to you.
Character duplicates unlock Enlightenment bonuses, with Over Exalt available at eight total copies. Inspect the exact bonuses before chasing duplicates. The value of another copy depends on what it unlocks for that character.
Set a Covenant Goal Before Transcribing
Covenants provide set effects and rolled attributes. Start with the recommended sets and attributes in the Growth Guide, then inspect which effects support your lineup.
Crit attributes affect the equipped Awakener, while damage amplification benefits the party. Consider damage amplification on supports as well as damage dealers, and look at Keyflare or Aliemus generation when those resources limit your team.
Transcription becomes more expensive as you lock attributes. Lock a strong roll in a stat you actually need, then weigh further rerolls against the cost of improving another piece. Avoid spending your entire supply perfecting one item while the rest of the set remains weak.
Protect Your Pull Currency and Monthly Exchanges
Keep standard pulls and limited-banner resources separate. Pure Core serves standard Awakening, while Luminous Core is the limited-pull item. Save Silver for planned limited pulls instead of converting it into more standard pulls.
| Currency | Main use |
|---|---|
| Pure Core | Standard Awakening |
| Luminous Core | Limited Awakening |
| Ethereal Core | Functions as Luminous Core within its current major version, then converts to Pure Core |
| Silver | Exchanges for cores and refills Menophin |
| Menophin | Stamina spent on Investigations |
| Rose Scrip | Awakener leveling and other upgrades |
Read each banner's details before pulling. Special banners can use different guarantee rules, so check the featured rewards and guarantee conditions on the banner you intend to use.
Build around a character you can support with your existing roster. Before chasing a signature Wheel or duplicates, check whether your team still lacks protection, resource generation, or compatible support cards.
Reserve Sediments for Monthly Upgrade Items
Sediments come from Awakening pulls. Two monthly exchanges deserve attention:
- Prototype Horizon: adds an Enlightenment to an Awakener you own, including a limited Awakener.
- Time Loop Copy: provides a duplicate upgrade for a Wheel of Destiny you own.
Reserve enough currency for your chosen monthly purchase before buying less important materials. Prioritize Prototype Horizon when a specific character bonus will improve your main team, and save universal duplicate items for limited characters or Wheels you have deliberately chosen to develop.
Use Daily Tasks and Events to Keep Progress Moving
Tulu: Godking's V2.7.0 Awakener and Wheel of Destiny introduction arrived on November 19, 2026, followed by the third-anniversary celebration announcement on November 20. Open the current event screens and check their reward tracks, deadlines, and ticket descriptions before spending saved resources.
Build a short daily routine:
- Claim mailbox gifts and available login rewards.
- Complete Training Quests in the Handbook.
- Spend Menophin on the materials or event rewards your account needs.
- Collect assignment rewards.
- Check available Awakener trials.
- Review event shops before their exchange periods end.
Compare event rewards with regular material farming before committing stamina. Prioritize limited equipment, pull items, and materials that directly improve your active team.
Start with an event stage you can clear, then attempt harder variants as your lineup improves. Event support and revival options can help secure a clear, and the described event farming stages allow sweeping after a clear that used those tools.
Read temporary pull-item descriptions carefully. Some event tickets expire or convert into standard-pull items, while Ethereal Core follows its own major-version conversion rule.
Break Through Story Walls With Better Preparation
A difficult boss is a reason to inspect your setup before spending more pulls. Read its mechanics, review the cards that failed to contribute, and check whether a different Posse or equipment effect addresses the problem.
Alternate Normal story progress with accessible Hard stages for additional rewards. Clearing Chapter 9 opens Arc 2, so work through the first arc while strengthening the team you will carry forward.
Unlock Psyche Deepdive stories alongside the main campaign. These provide additional rewards and Posses, expanding the Keeper abilities available to your teams.
When a fight stalls your progress:
- Read the boss's effects and next action. Identify what your current sequence needs to handle.
- Review your hand and resource use. Check whether a different card order enables another important play.
- Inspect your deck. Remove low-impact cards during the run when stronger options cover their role.
- Check your upgrades. Improve the exclusive cards, Exalt, or equipment effects your strategy depends on.
- Use Time Reversal. Revisit a decision and test another sequence.
Leave roster-wide investment for content that requires it. The D-Effect Zone demands multiple teams and restricts reuse of Awakeners, Wheels, and Posses. Begin at an accessible difficulty, then expand your roster as those restrictions become the obstacle to your next clear.
Continue with
 Morimens Shop Guide: What to Buy First and What to SkipUse this Morimens shop guide to prioritize monthly dupe tokens, compare exchange currencies, avoid weak cash packs, and spend your silver on limited pulls.
More in Guide
See all Guide
Continue exploring
Join the community
Find game news and player help: