
Morimens Poison Build: Budget Team and Boss Counters
Build a Morimens poison build around steady damage, reliable defense, and focused support. Learn budget team roles and how to handle cleanses and summons.
Jump to
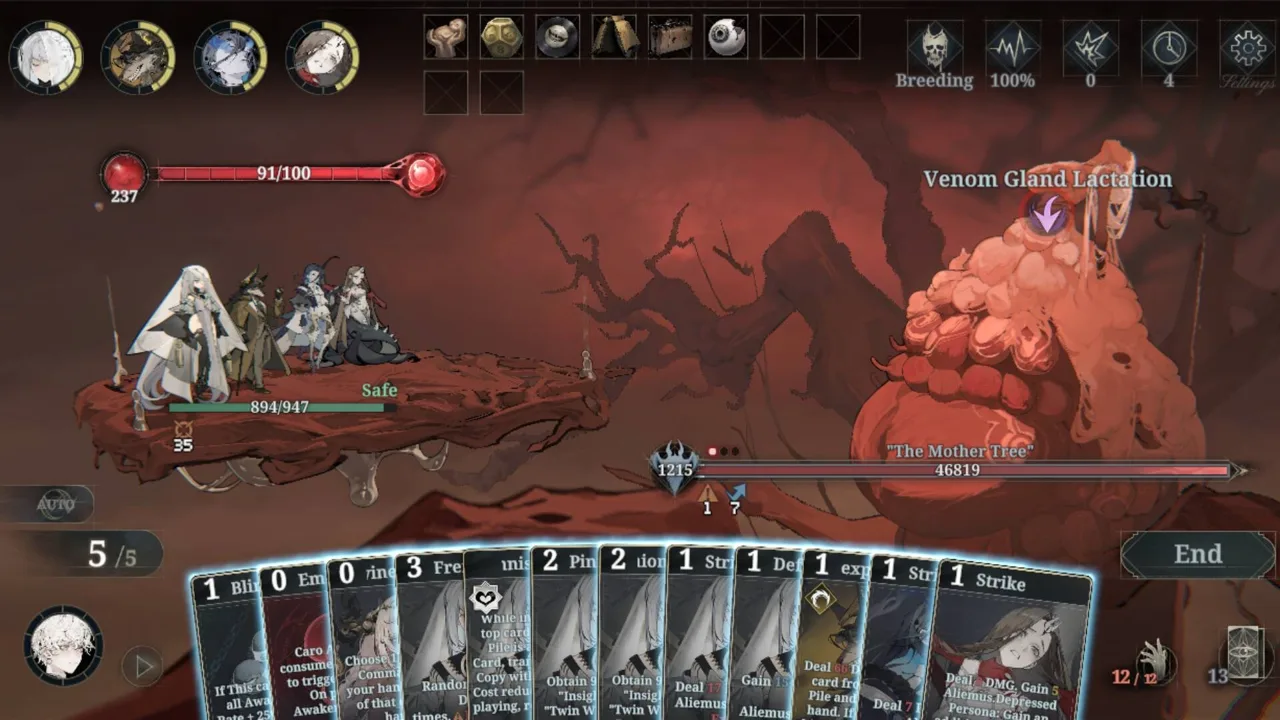
A Morimens poison build needs enough protection to survive while its damage develops. Poison normally triggers after the enemy takes its turn, so a threatening health bar can still get an attack off before it falls. Build around reliable application, defensive coverage, and the boss’s mechanics to keep that delay from costing you the fight.
Budget Poison Team: Application and Protection
An all-standard Awakener poison composition has cleared D-Zone Alert 3. Its structure combines three characters with poison application and a defensive anchor, giving the team a clear damage plan without requiring premium Awakeners.
Use this structure when assembling your own lineup:
| Team component | Contribution | What to prioritize |
|---|---|---|
| Karen | Contributes poison application | Use her alongside other applicators instead of relying entirely on her poison bonus |
| Two additional poison applicators | Keep advancing the team’s damage plan | Select characters whose kits contribute poison consistently |
| Kakus | Protects the team during setup | Maintain defensive coverage while poison builds |
Keep each character’s job clear. The poison applicators build pressure; Kakus buys the turns they need. Replacing defensive coverage with another attacker leaves a delayed-damage team exposed during the part of the fight when it is still getting started.
Karen also needs realistic expectations. Her Soul Forge interaction with Marvelous Cuisine requires repeated card plays and Exalts to develop its poison contribution. Keep her contribution in perspective when deciding where the rest of your damage will come from.
Build a complete poison engine before committing resources to a single character’s poison bonus. Application, support, and survival all need to function together.
Official page: Morimens (store.steampowered.com)
Covenants, Wheels of Destiny, and Posse Selection
Carry the same win condition into your equipment choices. Covenants, Wheels of Destiny, and the Posse should reinforce what your Awakeners are already doing.

Choose effects by the problem they solve:
- Poison application or damage-over-time support: Reinforce the team’s main damage mechanic.
- Protection and sustain: Preserve the turns needed to build damage.
- Control: Reduce pressure while the team establishes its setup.
- Turn acceleration: Help key characters act when the team needs their contribution.
Avoid choosing equipment solely because it improves an unrelated burst strategy. A strong effect still needs to help the cards you actually play.
Time the Posse around the fight’s needs. Activate a defensive effect when survival is threatened. Use an effect that amplifies your damage-over-time plan after establishing the poison it benefits. Spending the activation immediately can waste the moment when it would have mattered most.
Morimens also includes Orison card buffs and Relic drops during runs. Evaluate those choices against your current weakness: more damage will not rescue a team that cannot survive the next enemy turn.
How to Play Around Poison’s Delayed Damage
Read the enemy’s next action before committing your hand. Poison’s normal damage timing means stacking enough damage for an eventual kill does not necessarily prevent the incoming attack.

Use this decision order:
- Cover the enemy’s attack. Secure the protection needed to survive until poison resolves.
- Apply poison to the relevant target. Build pressure where it advances the fight.
- Use supporting effects deliberately. Keep buffs and activations aligned with your poison plan.
- Reassess after the enemy acts. Check surviving enemies and newly summoned threats before repeating the setup.
This becomes especially important when an encounter adds fresh enemies. Those summons arrive without the poison already stacked on another target. Your investment in the boss does not automatically give you damage against its reinforcements.
Direct attention toward a summon that threatens your survival. Continuing to stack the boss while another enemy overwhelms your defenses can end the run before your accumulated damage pays off.
Cleanses create a different problem: they erase the damage setup on the affected enemy. When a boss’s cleanse timing is predictable, preserve key application opportunities for afterward. Rebuilding immediately after a cleanse gives those applications more time to contribute.
Liz’s Arc 2 Poison Trigger Setup
Liz has a specialized role under her Arc 2 Soul Forge effect: turning incoming attacks into additional poison triggers. That interaction gives her a purpose in encounters built around repeated enemy hits, including Pandia setups.
 Image: Steam / B.I.A.V. Studio
Use her for that interaction when the encounter supports it. The team still needs poison application and enough protection to withstand the attacks that enable the extra triggers.
Before building around Liz, ask:
- Does the enemy attack repeatedly?
- Can the team survive those attacks?
- Can the other Awakeners establish enough poison for the triggers to matter?
Her value here comes from enabling poison triggers under particular conditions. Filling the team with characters that apply poison, without accounting for survival or the enemy’s attack pattern, misses the interaction.
Keep this setup tied to Arc 2 Soul Forge rules. Its temporary effect should not determine how you value her permanent kit.
Where Poison Struggles in Harder Content
Don’t expect success in Alert 3 to guarantee the same performance in Madness. The Arc 2 Madness environment puts much heavier pressure on poison’s damage output, setup time, and ability to handle disruptive boss mechanics.
Separate the reason for a failed attempt before changing the team:
- The team dies before damage resolves: Strengthen protection or control.
- Poison disappears repeatedly: Adjust application timing around cleanses.
- Summons overwhelm the team: Address fresh targets instead of continuing to stack only the boss.
- The team survives but barely reduces the boss’s health: Reconsider the damage plan for that difficulty.
That last case matters for investment. More defensive turns help only when the poison setup can produce meaningful progress during them. If the boss’s health pool outpaces the build’s damage, switch to a damage strategy your roster can support rather than extending an ineffective setup indefinitely.
Continue with
 Morimens Covenant List: Sets, Unlocks, and Stat TipsUse this Morimens covenant list to compare key sets, find story unlocks, choose DPS and support stats, and spend fewer pens on useful transcription rolls.
Continue exploring

Morimens Caraboo Guide: Shields, Builds, and Teams
Master Morimens Caraboo with a shield-focused build, Soulforge priorities, team synergies, and the V2.6 blessing rules that shape her combat rotation.

Morimens Reddit: Find Build Help and Progression Tips
Looking for Morimens reddit advice? Learn what to ask about builds, banners, and progression, plus how to compare answers with your current game version.
Join the community
Find game news and player help: