
Morimens Thais: Countdown Moment and Wheel Synergies
Explore Morimens Thais wheel synergies, learn how Countdown Moment cycles through your deck, and see why discard teams benefit from consistent card draw.
Jump to
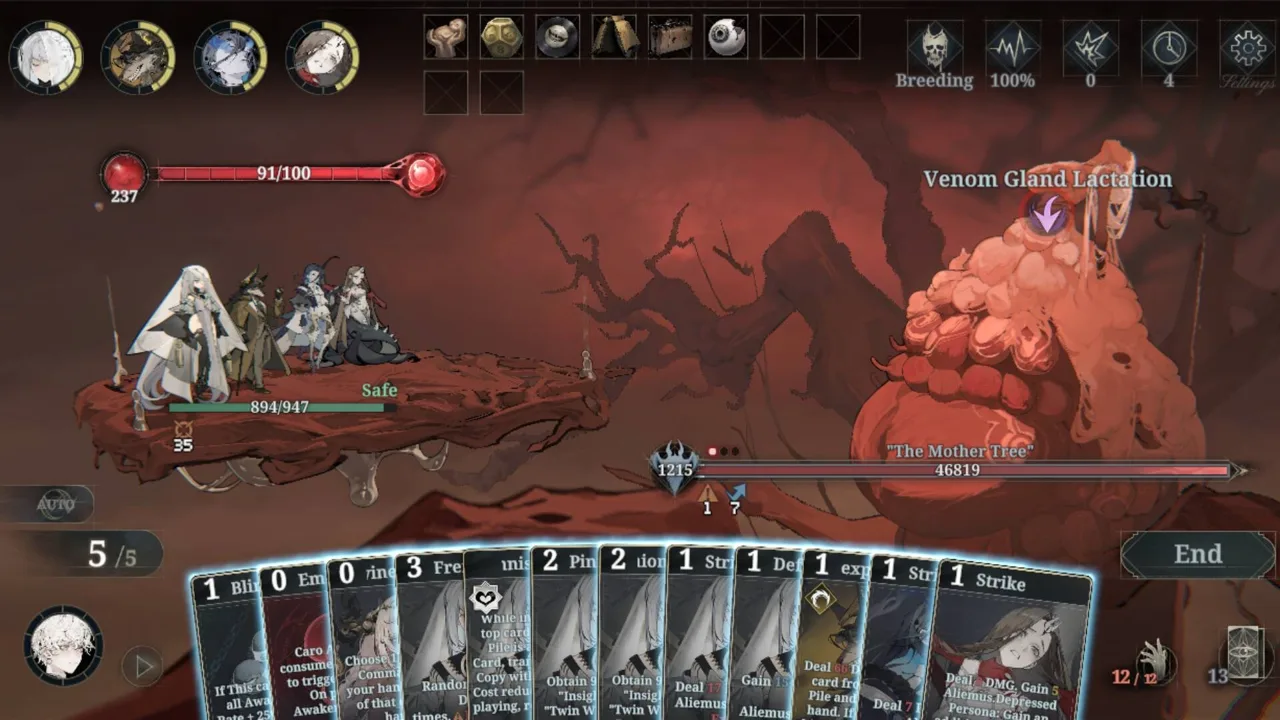
How the V2.4.1 Wheel Combo Works
Looking into the Morimens Thais wheel combo? Start with Countdown Moment’s placement: in the V2.4.1 setup, the wheel puts it into your discard pile. That matters because extra card draw cannot reach it until your deck reshuffles.
The combo depends on moving through your deck and bringing that card back into circulation. Drawing cards helps you get there, but creating Countdown Moment and drawing it are separate parts of the sequence.
The wheel also provides a three-card draw effect, making card circulation part of its appeal. Its interaction with Countdown and Countdown Moment supports repeated cycling, while its Key Flare contribution addresses another need in discard teams. Account for both benefits when planning the rotation: drawing through cards and supporting Key Flare are separate reasons to include it.
Keep that distinction in mind when planning your turn:
- After creating Countdown Moment: Account for its position in the discard pile.
- Before reshuffling: Use draw effects to work through the remaining draw pile.
- After reshuffling: Continue drawing to reach the card again.
Avoid spending a draw effect solely to retrieve a newly discarded Countdown Moment while it remains outside the draw pile.
The V2.4.1 offer discussed for this wheel costs 980 prime and provides a +12 wheel. Two +12 wheels can be equipped, so obtaining this one does not require treating it as your only +12 option. Keep the purchase cost separate from the deck interaction: the offer concerns acquiring the wheel, while repeated access to Countdown Moment still depends on cycling.
Official page: Morimens (store.steampowered.com)
Why Discard Teams Support the Loop
Discard teams bring together the repeated draw effects this interaction needs. Their advantage is the ability to keep moving through cards across turns, making subsequent reshuffles more accessible.

Cassia contributes a four-card draw, while Arita offers additional draw through her kit. Those effects support the same objective: cycling through the deck far enough to bring Countdown Moment back into reach.
Arita’s additional draw includes her Overexult at +4. Corpal contributes a different part of the discard engine by discarding the entire hand. Keep those actions distinct when sequencing the team: Corpal moves cards out of the hand, while Cassia’s four-card draw supplies cards from the draw pile.
Plan around repeatable draw. A large draw effect can help once, but sustaining the loop requires enough draw across the rest of the rotation.
Also separate discarding from drawing when evaluating a team. Moving cards into the discard pile does not immediately make them available again. The reshuffle connects those two parts of the engine.
Deck Size Changes the Combo’s Pace
A thinner deck makes Countdown Moment easier to find after it returns to circulation. With fewer other cards to draw through, your draw effects have less ground to cover.

Trim cards that do little for the intended rotation, while preserving the draw effects that keep it moving. Removing cards without considering their role can leave a small deck that still struggles to cycle.
Use this checklist when adjusting the setup:
- Keep enough draw to work through the deck consistently.
- Account for the reshuffle before expecting Countdown Moment back.
- Evaluate the rotation across several turns, including turns when your strongest draw effect is unavailable.
- Distinguish a successful return to hand from a loop you can repeat.
Drawing Countdown Moment every turn requires substantial, consistent draw power. Build toward that pace only when the full rotation can support it.
Check wheel interactions beyond the opening encounter, too. V2.4.1 addressed a Sunfall bug that affected its critical rate and critical damage bonuses after the first battle. Its base damage, poison, and counter increases still functioned, making the missing critical bonuses harder to notice. Test later encounters when comparing wheel setups, and separate card-cycle performance from critical-hit results. A successful opening battle alone does not test how a setup behaves throughout an exploration.
Continue with
 Morimens Caecus Guide: Skills, Counter, and E3 BuildLearn Morimens Caecus skills, Counter mechanics, E3 upgrades, and Wheel of Destiny options to build a beginner-friendly healer with retaliation damage.
More in Characters

Morimens Caraboo Guide: Shields, Builds, and Teams
Master Morimens Caraboo with a shield-focused build, Soulforge priorities, team synergies, and the V2.6 blessing rules that shape her combat rotation.

Morimens Keeper Guide: Your Role, Powers, and Combat
Learn the Morimens keeper's role, how Posse and Key Flare work, and how to balance Awakener abilities and Rouse in Fated Legacy and Astral Reign battles.
Continue exploring
Morimens Guide: Beginner Tips for Combat and Growth
Use this Morimens guide to build your first team, master card combat, choose upgrades, manage pulls, and tackle story stages with a clear progression plan.
Morimens Vivian Team Guide: Daffodil Core and Combos
Build your Morimens Vivian team with Daffodil, Arachne, and Winkle. Keep allies healthy with Vivian and time Cauldron and Boiling Anger combos.
Join the community
Find game news and player help: